
Documentaries can be as visually inventive as an Errol Morris film or as evocative as the slow zooms and pans across Ken Burn’s daguerreotype tin plates and pin-hole battle photographs. Nevertheless, the sound of the documentary—particularly the spoken word—is essential to convey and communicate the story.
Location sound recording for documentaries can present quite a few challenges. As a production sound mixer I troubleshoot sound problems everyday. Typically, documentary audio problems are the result of insufficient planning and selection of audio equipment. Just as you schedule your shoot and carefully light scenes, you’ve got to have a game plan for audio too. In this article I’ll cover micing strategies and microphone recommendations that will improve your sound.
MICROPHONE TYPES & USES
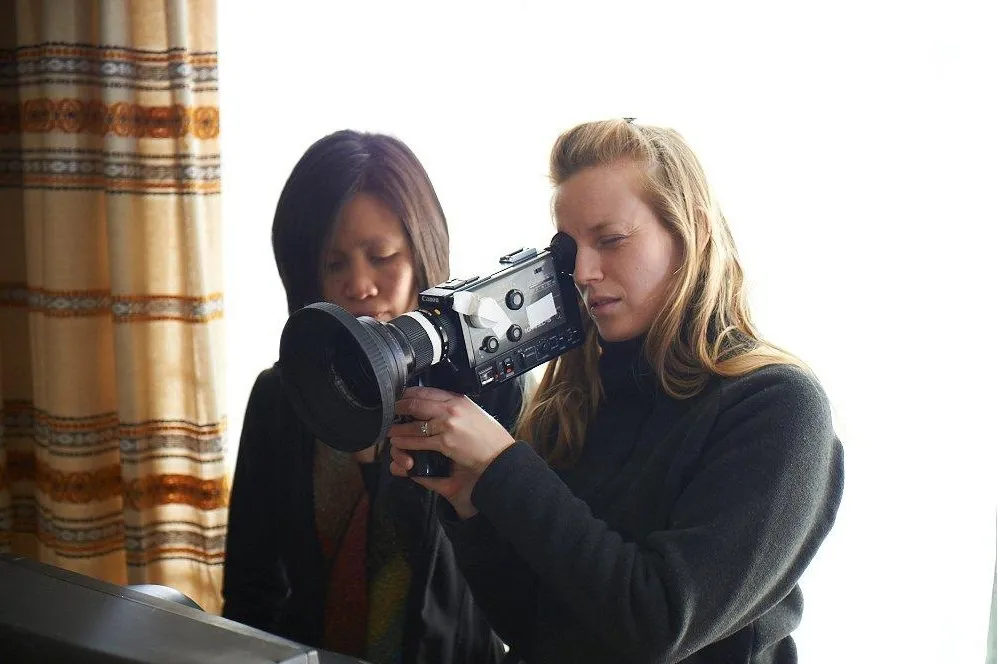
Shotgun Boom Microphone
Shotgun microphones offer a selective pick-up pattern that attenuates sound reaching the microphone from the sides and rear. This does not mean it rejects all sound from the sides and rear, but it does emphasize sounds coming from the front of the microphone. In addition, this type of microphone has the greatest “reach”; its working useful distance can be from as many as five feet away from the sound source and it will still pick up clean audio. You must use a good zeppelin-type windscreen outdoors to prevent wind noise; even small gusts and breezes can cause big audio problems.
Costs
- Shotgun Boom Microphone: $250.00 – $1,250.00 Audio Technica 235b – Sennheiser MKH 60-Audio Technica 4041 (Cardioid pickup pattern)
- Boom Pole: $100.00 – $650.00, $50.00 Gitzo – VDB
- Microphone Shockmount: $50.00 – Audio Technica AT8415 – PSC Universal Shockmount
- Zeppelin Windscreen: $120.00 -- $375.00 LightWave Systems slip-on style – Rycote enclosed zeppelin
Wireless Lavalier Microphone
The wireless Lavalier microphone is attached to a bodypack transmitter. This micing solution offers a constant “up close” sound regardless of camera framing. The wireless mic is good for isolating the speaking voice in louder ambient environments and is very unobtrusive—you needn’t worry about frame-lines or cueing unpredictable on-camera behavior.
Cost: $ 450.00 – 1$,800.00 Sennheieser Evolution Series100 – Lectrosonics UCR201
Lavalier Microphone
The Lavalier microphone is hard-wired; it is connected to a camcorder or a portable mixing panel by a mic cable. The Lavalier mic, which you clip on the lapel of the participant, is often an excellent choice for a sit-down interview.
Cost: $175.00 – $400.00 Sony ECM-44 – Sanken Cos 11
Dynamic Handheld Microphone (Omni or Cardioid pick-up pattern)
This handheld interview mic is the most reliable of microphone types. The dynamic pickup element requires no battery power, just the sound pressure of the person speaking into it. You can either hardwire it with a cable or go wireless, hooking it up to a wireless transmitter for more freedom of movement. The handheld mic has the least reach of any microphone type, however, so make sure you are always close to your subject.
An omni pick-up pattern is sensitive in all directions, whereas a cardioid pick-up pattern rejects some sound from the sides and rear and is a better choice for isolating a voice in loud background noise.
Cost: $100.00 – $200.00 Shure VP64A – Electro-Voice RE 50
Shure SM57 (Cardioid pickup pattern)
The On-Camera Microphone
The microphone supplied with every camcorder is more of an afterthought by the manufactures than a useable micing solution, for a number of reasons. First, a quality shotgun microphone would add considerably to the purchase price; a top quality shotgun mic can cost almost half as much as a three-chip camcorder.
Second, and more important, a mic attached to a camcorder is really only useful for a “talking head” shot. Microphones function largely based on distance from the sound source to the pick-up element, and an on-camera mic is rarely physically close enough to a person speaking to capture useable sound. The signal (person speaking) to noise (background/ambient noise level, room acoustics) ratio is too great.
Nevertheless, if you replace the cheap supplied mic with a good quality one, and use a good slip-on windscreen, it is possible to capture spontaneous “man on the street” interviews, over which you have little or no control. Also, some ambient background sounds are nicely recorded this way.
Recording Audio on the MiniDV Camcorder format
With the introduction of digital 48k sampling/16 bit audio recording on the miniDV format, the need for double system audio recording (DAT or Nagra) is less necessary for documentary production. There are valid arguments and shooting situations for double system sound recording, but the majority of smaller scale documentaries can rely and reap the time- and labor-saving benefits of single system sound recording, which records the audio directly on the miniDV tape next to the video picture data.
When recording digital audio, one needs to be careful not to record too hot of a signal. Going over “0” on a digital meter almost always guarantees that distortion will result, and digital distortion, unlike analog, is usually unusable.
The second consideration is the lack of “headroom” available with miniDV camcorders. Headroom is the margin of error that an audio signal has when it peaks over a value of “0” on the meter and when distortion occurs. Play it safe and set the camcorder’s audio gain level in the menu tree to no more than halfway. Before shooting, find the correct audio gain setting for your camcorder by doing a test recording with all your audio gear.
Selected Cameras and their Sound Recording Capabilities
Canon XL-1/XL-1s
This is the most popular miniDV camcorder for documentaries. Connecting audio equipment (portable mixing panels, microphones) involves attaching a Canon shoulder pad/XLR adapter mount (MA-100 or MA-200). These provide 2 or 4 XLR Mic level inputs, but do not send a line level signal into this input; it will distort the audio. Set the audio menu to “Mic” or “Mic ATT” (attenuation for loud sound sources), 16 bit, (the 12 bit setting is for dubbing narration or music and is around 25 percent lower quality than 16 bit). Next, set the input gain knob (min/max) of Audio 2 to around 10:00/10:30 AM position. This setting reduces the chance of going into digital distortion.
Canon GL-1
This model has no manual control of audio level—only auto. The Canon GL-1 also has no XLR mic inputs; only minijack mic inputs.
Sony PD-150
This camcorder only records at 48k sampling 16 bit, which is the broadcast standard, and it displays an on-screen audio level indicator. The 2 XLR mic inputs are built into the handle, and 48-volt Phantom power can be selected with an on/off switch if one is connecting a condenser microphone that requires it. Set the switch to “Mic” or “Mic ATT” (20 dB of attenuation). A word of caution: Sony claims the Line Level setting is a true +4 Professional Line Level. In my experience, every time I have connected a Line Level signal to the XLR input, with the switch set to LINE LEVEL, I have had distortion recorded on the soundtrack. Play it safe and only send or connect mic level sources to the XLR inputs.
Sony PD-100/100a
This three-chip camcorder is the “Pro” version of the Sony TRV 900. It comes supplied with a mono (single input) XLR adapter, and a 48-volt Phantom power can be switched on or off. Set the switch to Mic or Mic ATT. This camcorder only records at the 48k sampling 16 bit broadcast standard. If two microphone sources are needed, an external XLR adapter box can be screwed onto the bottom of the camcorder and connected to the minijack mic input. This provides two discrete tracks of audio recording capability.
Sony TRV-900
This is the consumer version of the PD-100/100a, though it lacks the XLR mic input. You must use an external XLR adapter box connected through the minijack input to interface with pro audio equipment and microphones.
Sony VX2000
This is the consumer version of the PD-150. It lacks XLR mic inputs and has no on- screen audio level display.
Sony VX1000
This is the original three-chip miniDV camcorder. It only records 32k sampling 12-bit audio. There is no manual control of audio level; only auto.
Recording good documentary sound involves paying as much attention to your audio as you do composing the visuals. Choosing the right type of microphones greatly effects the sound quality you record.
Erik Magnus is a production sound mixer and filmmaker based in Los Angeles, California. He can be reached at 310.786.3451 or soundforpicture@earthlink.net
©2002 Erik Magnus